Manage Users
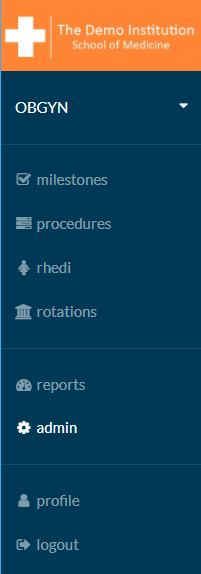
Administrators of the myTIPreport account have the ability to add, remove and manage the details of the users who have access to the account. To perform these actions, start by clicking the admin link in the left-hand menu after logging in on the web. Currently, all user management operations must be performed from the web, not the phone app.
From there, locate the Users and Roles section.
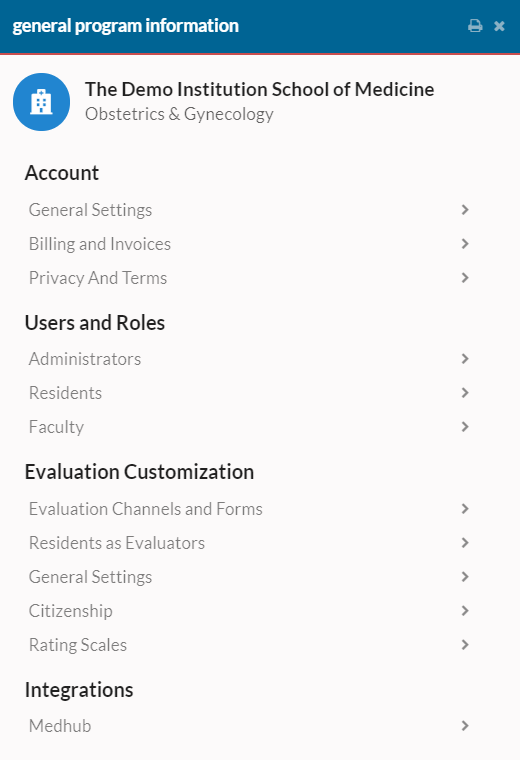
There are three groups in myTIPreport:
- Administrators - Generally consists of the program director, manager and any coordinators. Can also include any faculty members who need administrative privileges to do things like customize forms.
- Learners - These are the residents, fellows or other learners who can receive feedback.
- Teachers - These are the faculty members / mentors who can provide feedback to the learners.
Each of these groups is managed by selecting their role under Users and Roles. While each of these groups is managed separately, the processes for managing users will feel very similar in each of the sections.
Add User
To walk through the process of adding a user, let's click the Faculty row. That'll present you with a view of all of the current faculty:
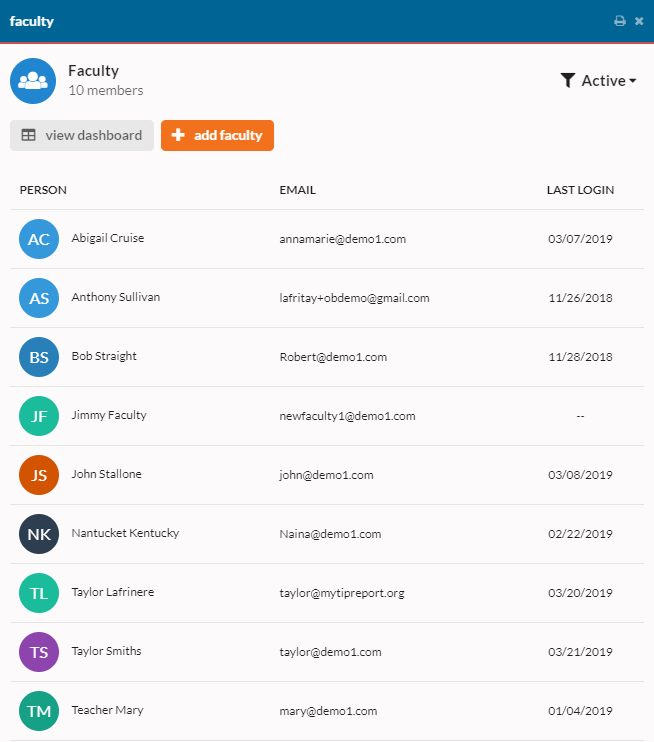
At the top, click the orange add faculty button. That'll present you with a simple form for entering their information. Here's how you should think about each of the fields:
- Display Name - This is how the user will show up in the system. Further, lists of users will be sorted based on this field. If you'd prefer users to be sorted by their last name, you can enter user's display names in the form: LastName, FirstName.
- Primary Email Address - This is the email address that the user will log in with and receive notifications at.
- User State - This indicates whether or not the user is an active member of the current group. When creating a new user, you'll want to leave this as Active. If you ever want to remove this user, simply make them inactive.
- Email Aliases - This allows you to specify additional email aliases for a user. This feature is most useful for institutions who are using institutional logins as opposed to custom myTIPreport passwords. In that case if you need multiple different email addresses to resolve to the same user, you can add additional email aliases for the user here. The user can then use any of those aliases to log in. In most cases, this will be left blank.
Once you've finished entering the information for the user, click Save Changes at the bottom of the screen. Each time a new user is added to the program, they'll receive an email letting them know they've been granted access. If it's their first time being added to a myTIPreport account, they'll also receive access instructions and a temporary password. While we do our best to make sure these emails make it to a user's inbox, it's not uncommon that they end up in the spam folder. If people are struggling to find their welcome email, make sure they look in their spam folder.
Change User Properties
Once a user exists in the system, their properties can be changed at any time. Let's use the learners this time to walk through this flow. Click on admin again in the left-hand menu to navigate back to where we started. This time, select your learners group (generally Students, Residents or Fellows).
You'll be presented with a list of your learners. This time, click on the user's row that you'd like to update. You'll be presented with a familiar screen:

At this point, you can edit any of the fields that need to be changed. When you're finished, click Save Changes at the bottom of the screen.
Remove User
Users are never truly deleted from the system. This is because they could have given or received feedback and that feedback should always be associated with them. Instead, users are made inactive. When a user is made inactive, they'll no longer have access to the system and they'll no longer show up in the learner or teacher lists.
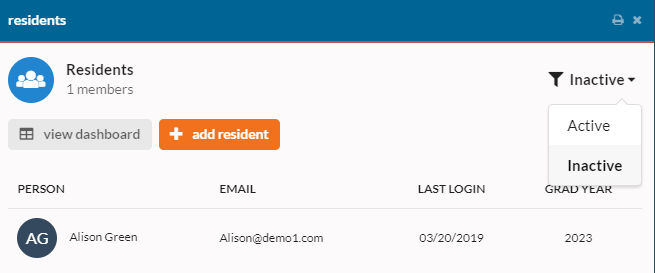
Removing users is the same process for both learners and teachers. Let's use learners as an example here. Start by clicking on admin in the left-hand menu, followed by Residents in the Users and Roles section. Select the user you'd like to remove. Locate the User State section and click the dropdown:

Select Inactive. Then click Save Changes at the bottom of the screen. At this point you should notice the learner no longer shows up in your list of learners. If you'd like to view your inactive users, you can do so by clicking the filter in the top-right of the role member's screen:
If you need to reactivate a user, simply select their name and change their state back to active.